Mastering the Art of Gluten-Free Bread Rolls
For those navigating a gluten-free lifestyle, finding a bread roll that is soft, chewy, and holds its shape without crumbling can feel like a quest for the Holy Grail. Traditional bread relies on gluten—a complex protein network—to provide structure, elasticity, and the ability to trap gas, resulting in a light, airy crumb. Without it, gluten-free baking often yields dense, dry, or brittle results.
This comprehensive guide provides a reliable, easy-to-follow recipe for gluten-free bread rolls that rivals their wheat-based counterparts. By utilizing specialized flour blends and essential hydrocolloids, we can replicate the necessary structure, ensuring soft, fluffy dinner rolls perfect for sandwiches, soups, or soaking up gravy.
The Science Behind Soft Gluten-Free Baking
The secret to successful gluten-free bread lies in replacing the function of gluten. We achieve this through a combination of starches and protein-rich flours, stabilized by a binding agent.
Key Entity: Psyllium Husk Powder
While many recipes rely on xanthan gum, psyllium husk powder (not whole husks) is the superior binder for bread. When mixed with water, it forms a gel that mimics the viscoelastic properties of gluten, providing the necessary elasticity and moisture retention. This is crucial for preventing the rolls from drying out quickly.
The Ultimate Easy Gluten-Free Bread Rolls Recipe
This recipe is designed to be approachable for beginners while yielding professional-quality results. It focuses on readily available ingredients and minimal specialized equipment.
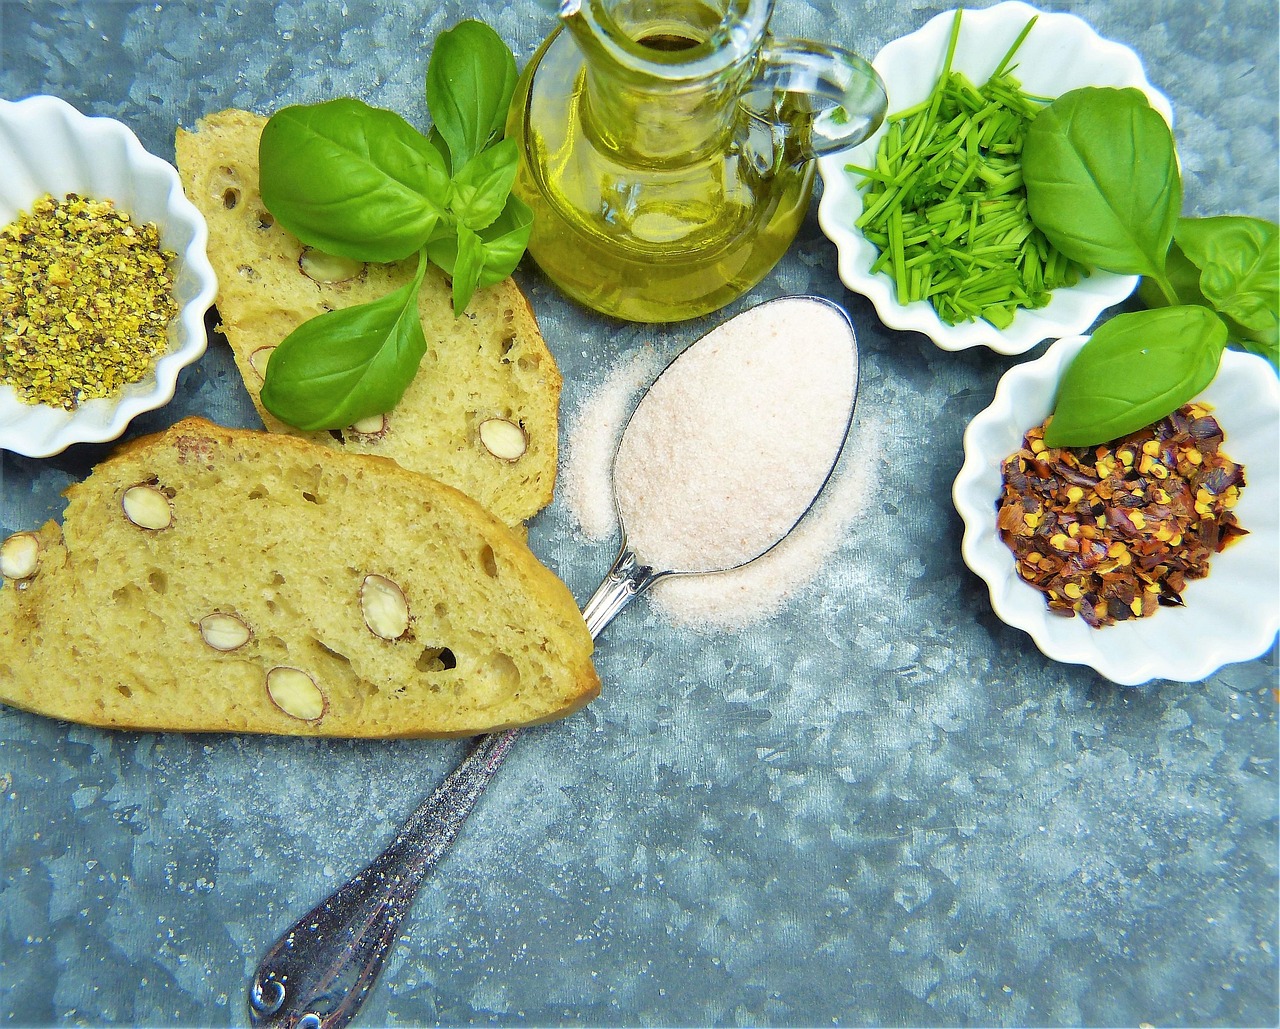
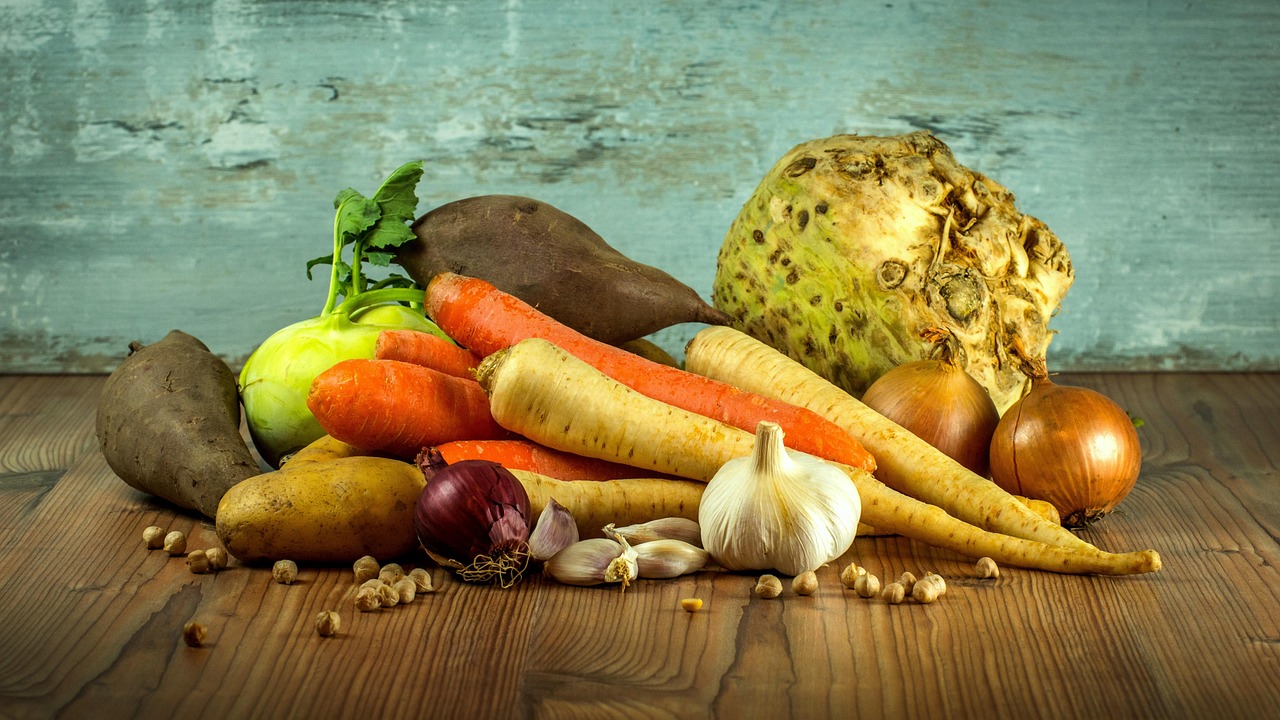
Ingredients List
Dry Ingredients:
- 2 cups (280g) high-quality gluten-free all-purpose flour blend (ensure it contains rice flour, potato starch, and tapioca starch, but not bean flours for best texture).
- 1/2 cup (60g) brown rice flour (adds structure and a slightly nutty flavor. Learn more about brown rice flour).
- 1/4 cup (25g) psyllium husk powder (essential for structure).
- 2 teaspoons instant dry yeast.
- 1 tablespoon granulated sugar or honey (feeds the yeast).
- 1 teaspoon salt (enhances flavor and controls yeast activity).
Wet Ingredients:
- 1 1/2 cups (360ml) warm water (105°F–115°F or 40°C–46°C).
- 2 large eggs, room temperature.
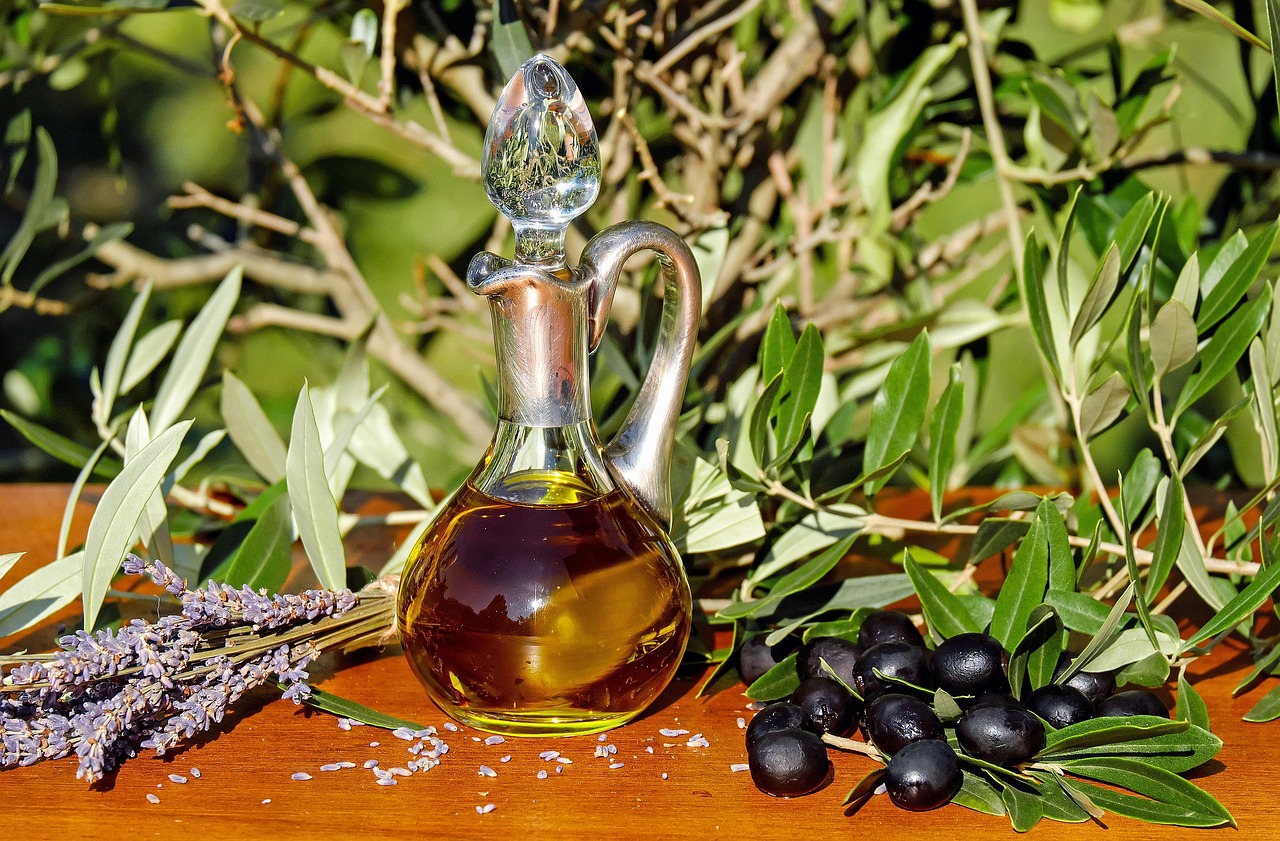
- 1/4 cup (60ml) olive oil or melted butter.
- 1 tablespoon apple cider vinegar (reacts with baking soda/powder often found in GF blends and aids in rise).
Step-by-Step Instructions
1. Activate the Yeast and Psyllium Gel
In a large mixing bowl, combine the warm water, sugar, and yeast. Let stand for 5–10 minutes until foamy. This confirms the yeast is active.
In a separate small bowl, whisk the psyllium husk powder into 1/2 cup of the measured warm water until a thick gel forms. Set aside for 5 minutes. This step is critical for achieving the correct dough consistency.
2. Combine Wet Ingredients
To the foamy yeast mixture, add the eggs, oil, vinegar, and the psyllium gel. Mix well until everything is thoroughly incorporated.
3. Mix Dry Ingredients
In a separate bowl, whisk together the GF flour blend, brown rice flour, and salt.
4. Form the Dough
Gradually add the dry ingredients to the wet ingredients while mixing on low speed (using a stand mixer with a paddle attachment is highly recommended). Increase the speed to medium and beat for 5–7 minutes. Unlike wheat dough, you are not developing gluten; you are activating the psyllium network.
The resulting dough will be very sticky and soft—more like a thick batter than traditional bread dough. Do not be tempted to add more flour.
5. Shape and Proof the Rolls
Lightly oil your hands. Divide the dough into 10–12 equal portions (about 80–90g each). Roll each portion gently into a smooth ball and place them on a baking sheet lined with parchment paper, leaving about 2 inches between each roll.
Cover the rolls loosely with plastic wrap or a clean kitchen towel. Place them in a warm, draft-free spot (like a slightly warmed, turned-off oven) to proof for 45–60 minutes, or until they have nearly doubled in size. Proper proofing is essential for a light texture.
6. Bake
Preheat your oven to 375°F (190°C). If desired, brush the tops of the rolls with an egg wash (1 egg beaten with 1 tablespoon of water) for a golden crust.
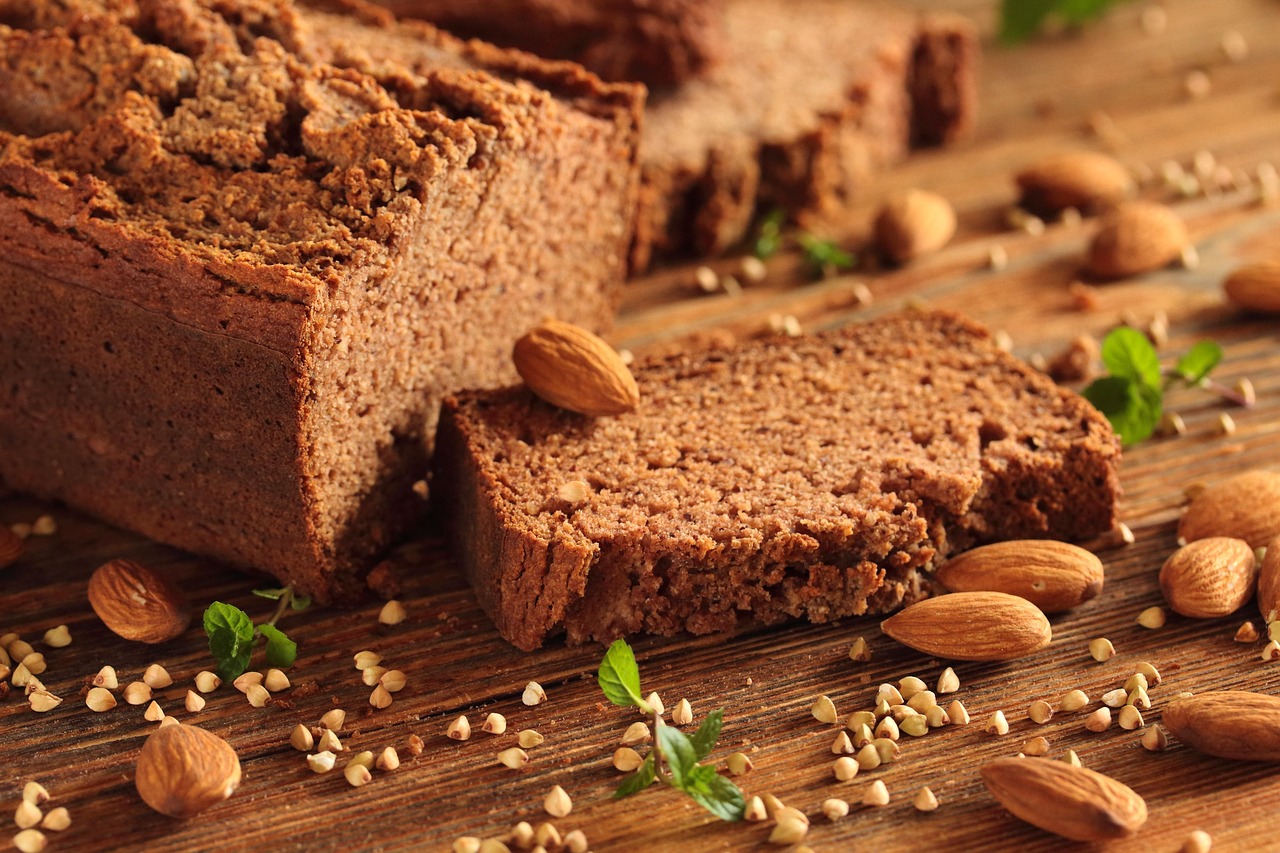
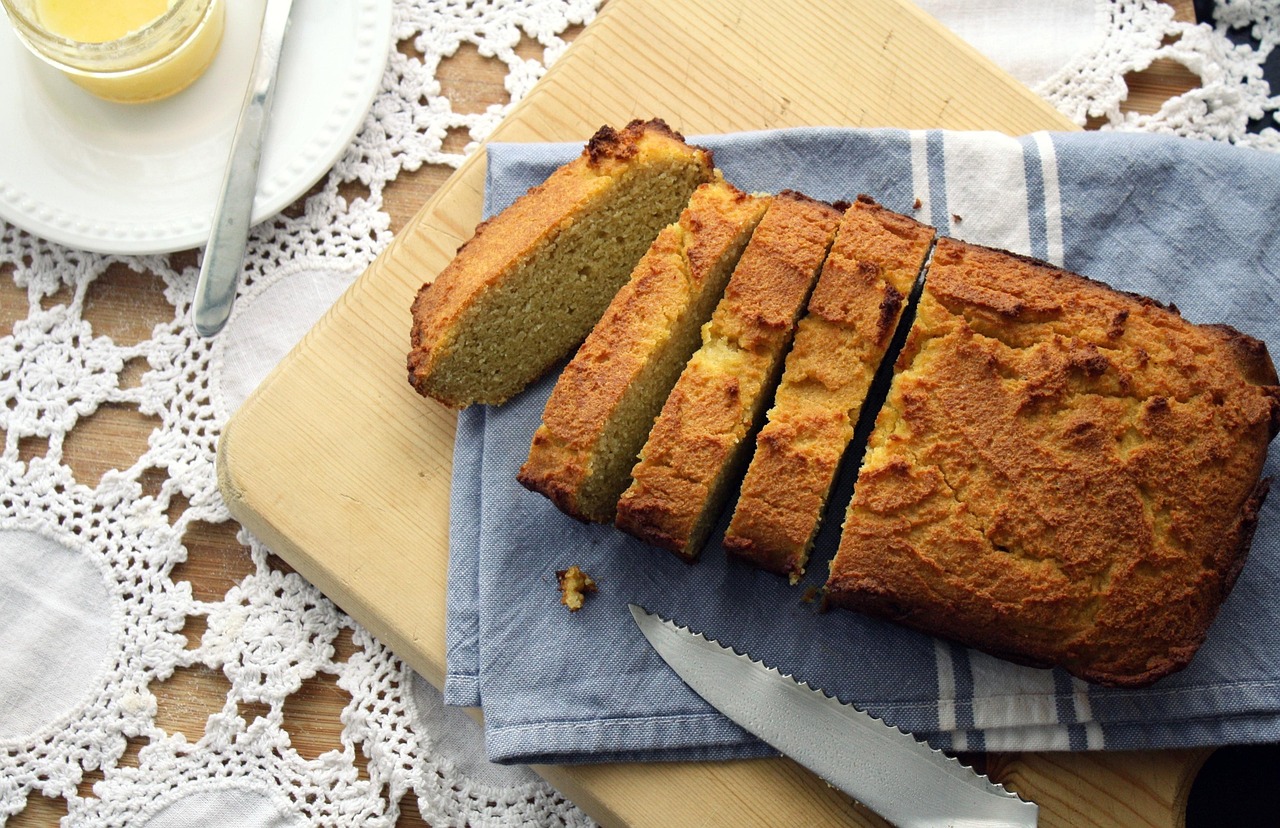
Bake for 20–25 minutes, or until the rolls are deeply golden brown and sound hollow when tapped on the bottom. The internal temperature should register 200°F (93°C).
7. Cool and Serve
Transfer the rolls immediately to a wire rack to cool completely. Cooling on a rack prevents the bottom from becoming soggy. While tempting, slicing into hot gluten-free bread can release steam too quickly, leading to a gummy texture. Wait at least 30 minutes before serving.
Pro Tips for Perfect Gluten-Free Bread Rolls
1. Temperature Control
Gluten-free yeast doughs thrive on warmth. Ensure your water is the correct temperature (105°F–115°F) and that your eggs are at room temperature. Cold ingredients inhibit yeast activity and stiffen the psyllium gel prematurely.
2. The Importance of Weight
Always measure gluten-free flours by weight (grams) rather than volume (cups). GF flours pack differently, and even a slight variation can drastically alter the dough’s hydration level, leading to a dry or overly wet result.
3. Regional Flour Adaptations
When using specific regional blends (e.g., those popular in the UK, NZ, or Australia), check the ingredient list. If the blend already contains a binder like xanthan gum, you may need to slightly reduce the amount of psyllium husk powder specified in this recipe, though psyllium is generally superior for bread structure.
4. Storage and Reheating
Gluten-free bread tends to stale faster than wheat bread. Store cooled rolls in an airtight container at room temperature for up to 3 days, or freeze them for up to 3 months. To refresh frozen rolls, thaw them completely and warm them in a 350°F (175°C) oven for 5–8 minutes.
Troubleshooting Common Gluten-Free Baking Problems
| Problem | Cause | Solution |
|---|---|---|
| Rolls are dense and heavy | Insufficient proofing time or cold ingredients. | Ensure yeast is active and proof the dough in a warm, humid environment until nearly doubled. |
| Rolls are gummy or wet inside | Sliced too soon, or too much liquid. | Always let the rolls cool completely (at least 30 minutes) on a wire rack. Ensure flours were measured by weight. |
| Rolls crumble easily | Not enough binder (psyllium husk) or insufficient mixing time. | Ensure you use psyllium husk powder, not whole husks. Mix for the full 5–7 minutes to activate the psyllium network. |
| Rolls collapse after baking | Over-proofing or under-baking. | Check the internal temperature (200°F/93°C). Reduce proofing time slightly if they look overly puffy before baking. |
Frequently Asked Questions (FAQ)
Can I substitute xanthan gum for psyllium husk powder?
Yes, you can, but the texture will be different. Xanthan gum typically requires less volume (start with 1.5 teaspoons for this recipe) and results in a slightly less elastic, more cake-like crumb. Psyllium husk powder provides a better, chewier texture that mimics traditional bread more closely.
Is this recipe suitable for making gluten-free dinner rolls?
Absolutely. These rolls are perfectly sized and flavored for use as dinner rolls. For a richer flavor, you can substitute melted butter for olive oil in the wet ingredients.
What is the best gluten-free flour blend to use?
The best blends are those formulated specifically for yeast bread, often containing a mix of white rice flour, tapioca starch, and potato starch. Avoid blends that are primarily chickpea or bean flour, as these can impart a strong, savory flavor that is not ideal for a neutral bread roll.
Can I make this recipe vegan?
Yes. To make this recipe vegan, substitute the two eggs with a flax egg substitute (2 tablespoons ground flaxseed mixed with 6 tablespoons water, rested for 5 minutes) and use olive oil instead of melted butter. The texture may be slightly denser, but the structure will hold.
Why is apple cider vinegar necessary?
Apple cider vinegar (or lemon juice) helps tenderize the dough and aids in the chemical reaction with any leavening agents (like baking powder) that might be present in your commercial GF flour blend. It also contributes to a better rise and a more neutral flavor profile by balancing the starches.
Get Started
Ready to elevate your gluten-free baking? Experiment with different toppings—try sesame seeds, poppy seeds, or a sprinkle of coarse salt before baking. Once you master this foundational recipe, you can adapt it for sweet rolls, savory herb rolls, or even small sandwich buns. The key is consistent measurement and patience during the proofing stage.
References
- Pérez-Quirce, S., et al. Impact of Hydrocolloids on the Rheological and Textural Properties of Gluten-Free Bread Dough. Foods. 2025;13(1):181. doi:10.3390/foods13010181. — This academic study details how psyllium husk and other hydrocolloids successfully replace gluten’s structure in dough systems, improving elasticity and volume.
- Celiac Disease Foundation. Gluten-Free Baking: Tips and Techniques. 2025. https://celiac.org/gluten-free-living/gluten-free-foods/baking/ “Celiac Disease Foundation Gluten-Free Baking Guide”. — Provides authoritative guidance on safe gluten-free baking practices, ingredient sourcing, and cross-contamination prevention for those with Celiac Disease.
- Renzetti, S., et al. The Role of Starch and Protein in Gluten-Free Bread Quality. ScienceDirect. 2025. “ScienceDirect Starch and Protein in GF Bread”. — This article analyzes how different starches (like tapioca and potato) interact with protein sources in gluten-free formulations to achieve optimal crumb structure and moisture retention.
Last Updated on October 14, 2025 by Amelia Hayes